All Onboarding's & Actions
Written By Anand Raj
Last updated 4 days ago
The Onboarding module is where every new business onboarding lives — from the moment the form link is generated until the business is fully set up and the AI agent is stable. From here you can track each onboarding, share form links, attach support tickets and run quick actions on every row.
The module can be viewed in two formats using the toggle in the top-right corner:
List View — a tabular listing of all businesses currently in onboarding. (described in this document).
Insights View — a dashboard view with charts and performance metrics
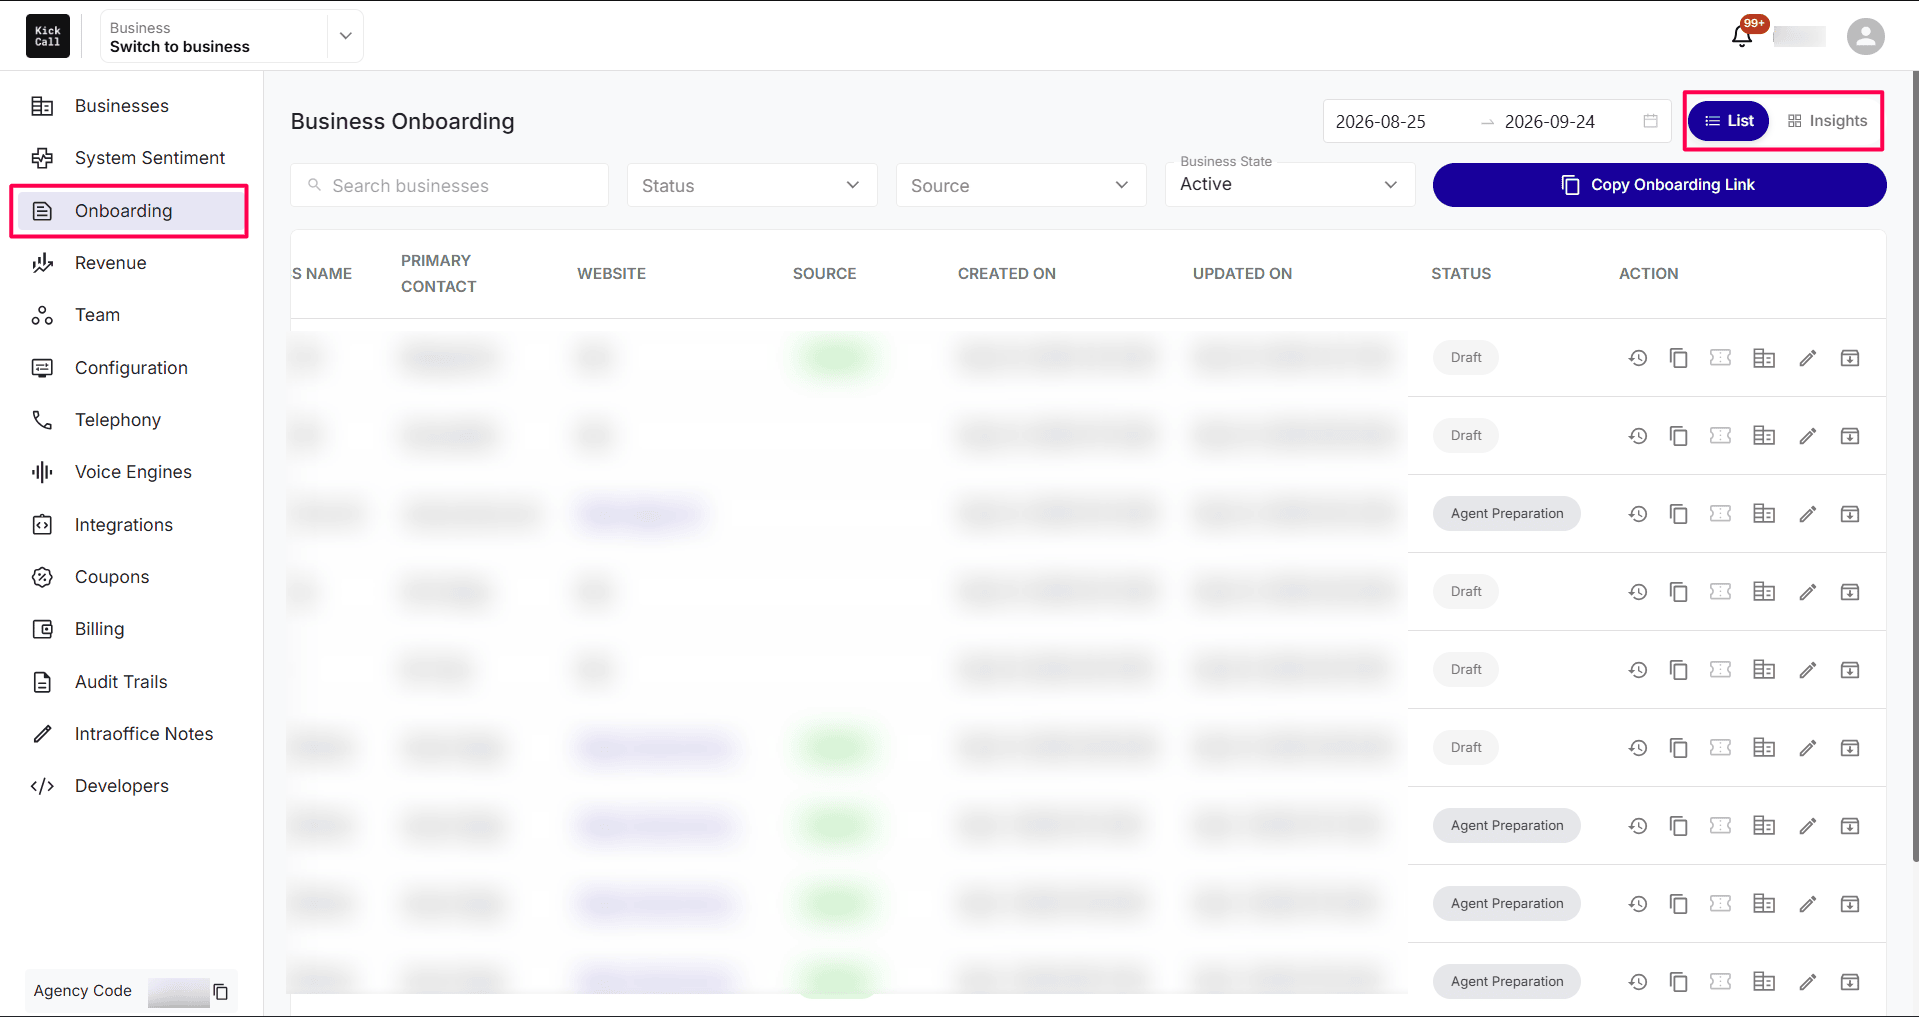
Open the Onboarding module
From the left sidebar of the Agency Portal, click Onboarding. You'll land on the Business Onboarding view — a table of every onboarding currently in progress or completed for your agency.
Each row shows the following columns:
Business Name — the name captured in the onboarding form.
Primary Contact — the business owner or main point of contact.
Website — the business website URL.
Source — how the business came in (Organic or Referral).
Created On — the date & time the onboarding was created.
Updated on — the date & time the onboarding was last updated on.
Status — current stage of the onboarding (Draft, Pending, In Progress, In Review, Completed). Check out Business Onboarding statuses.
Actions — quick action icons.
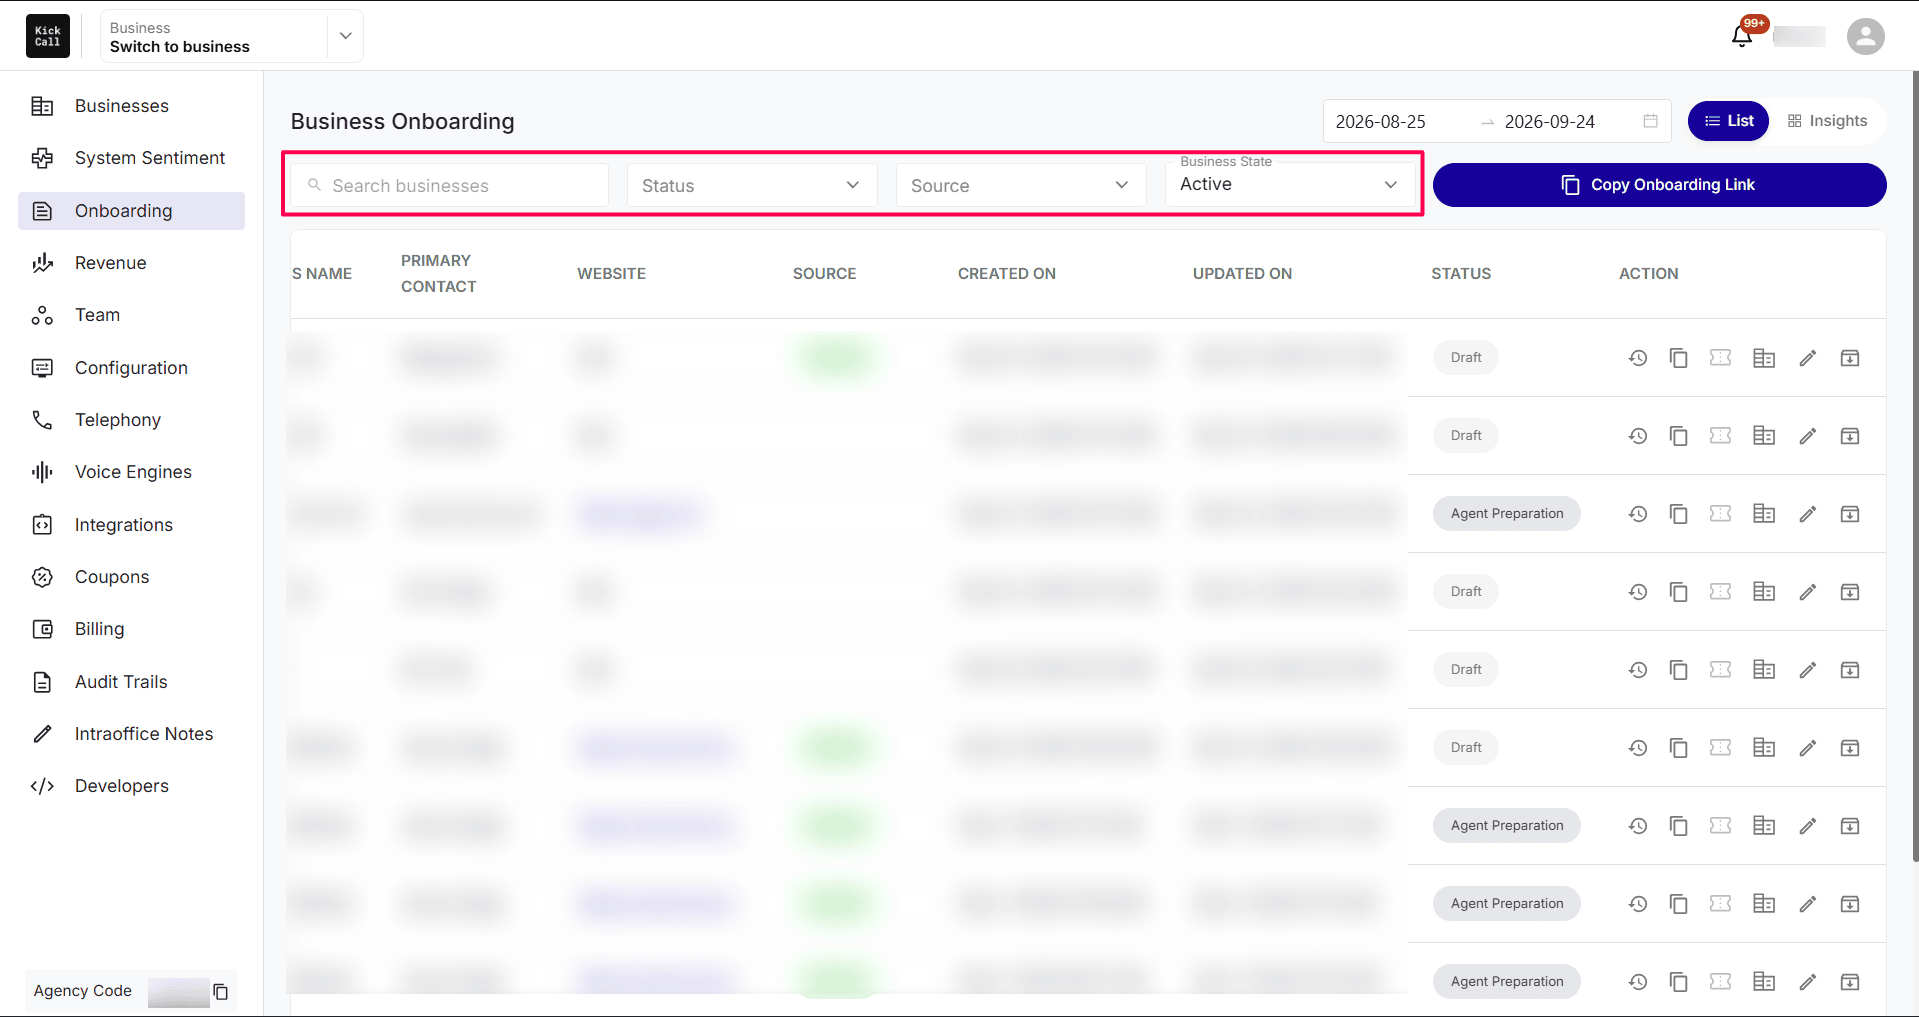
Search and filter the list
Use the Search business bar at the top to find an onboarding by business name.
Use the Source filter to narrow the list by where the business came from (Referral, Organic, etc.).
Use the Status filter to focus on a specific stage (Draft, Pending, In Progress, In Review, Completed).
Use the Form Status filter to view All, Active, or Archived onboarding forms.
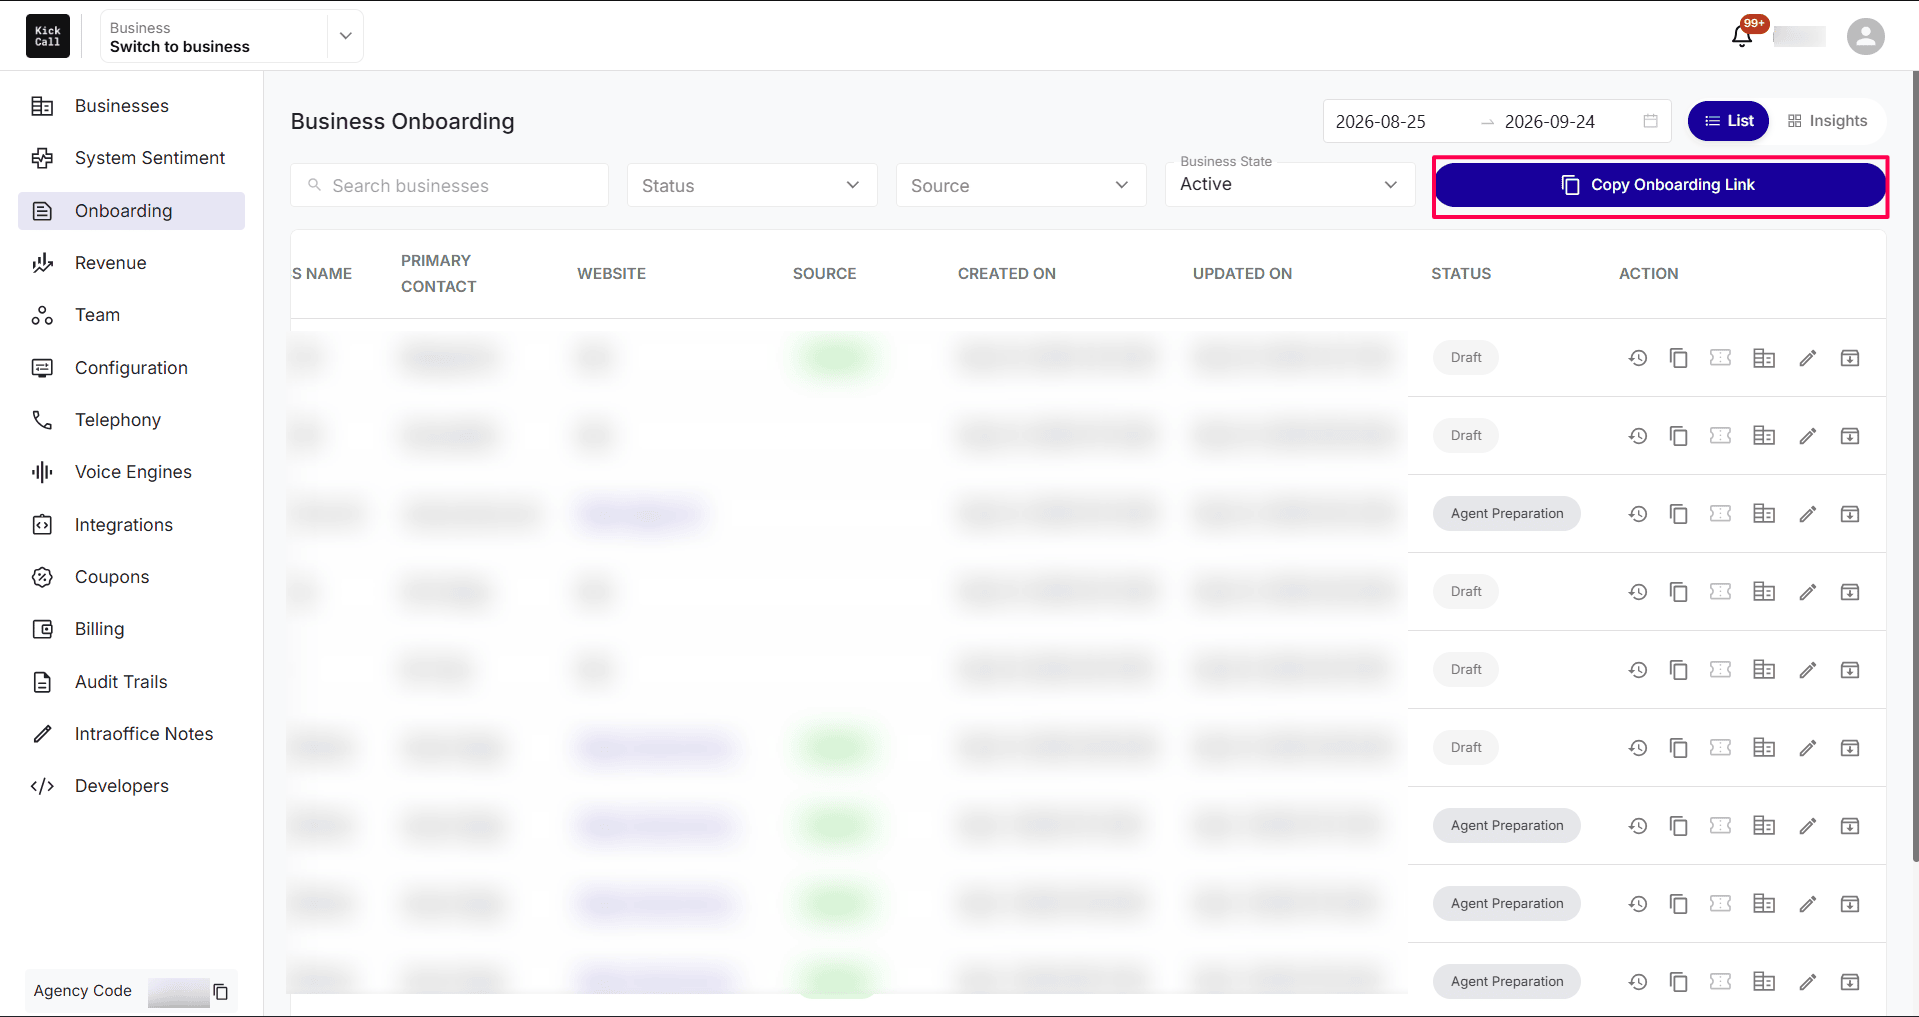
Copy Onboarding Link (top-right CTA)
The Copy Onboarding Link button at the top right generates a fresh onboarding entry and copies a unique Onboarding Form Link to your clipboard, ready to share with the new business owner. Everything captured through the form (business details, locations, owner details, telephony, billing package, etc.) flows directly into this onboarding record.
Recommended: Always use the Onboarding form for any live business. It captures everything required for go-live and feeds directly into the Business Portal once the setup is completed.
Source: Organic vs Referral
The Source column tells you how the business landed in your onboarding pipeline:
Organic — the onboarding was started directly, without coming through a referral partner. This is the default source when you generate the link yourself or when the business signs up through your own channels.
Referral — the business came through a referral partner. Kickcall supports third-party referral integrations like Tolt; when a business arrives through one of those links, the onboarding is automatically tagged as Referral so you can attribute it correctly.
Row actions
Each row has six quick action icons on the right.
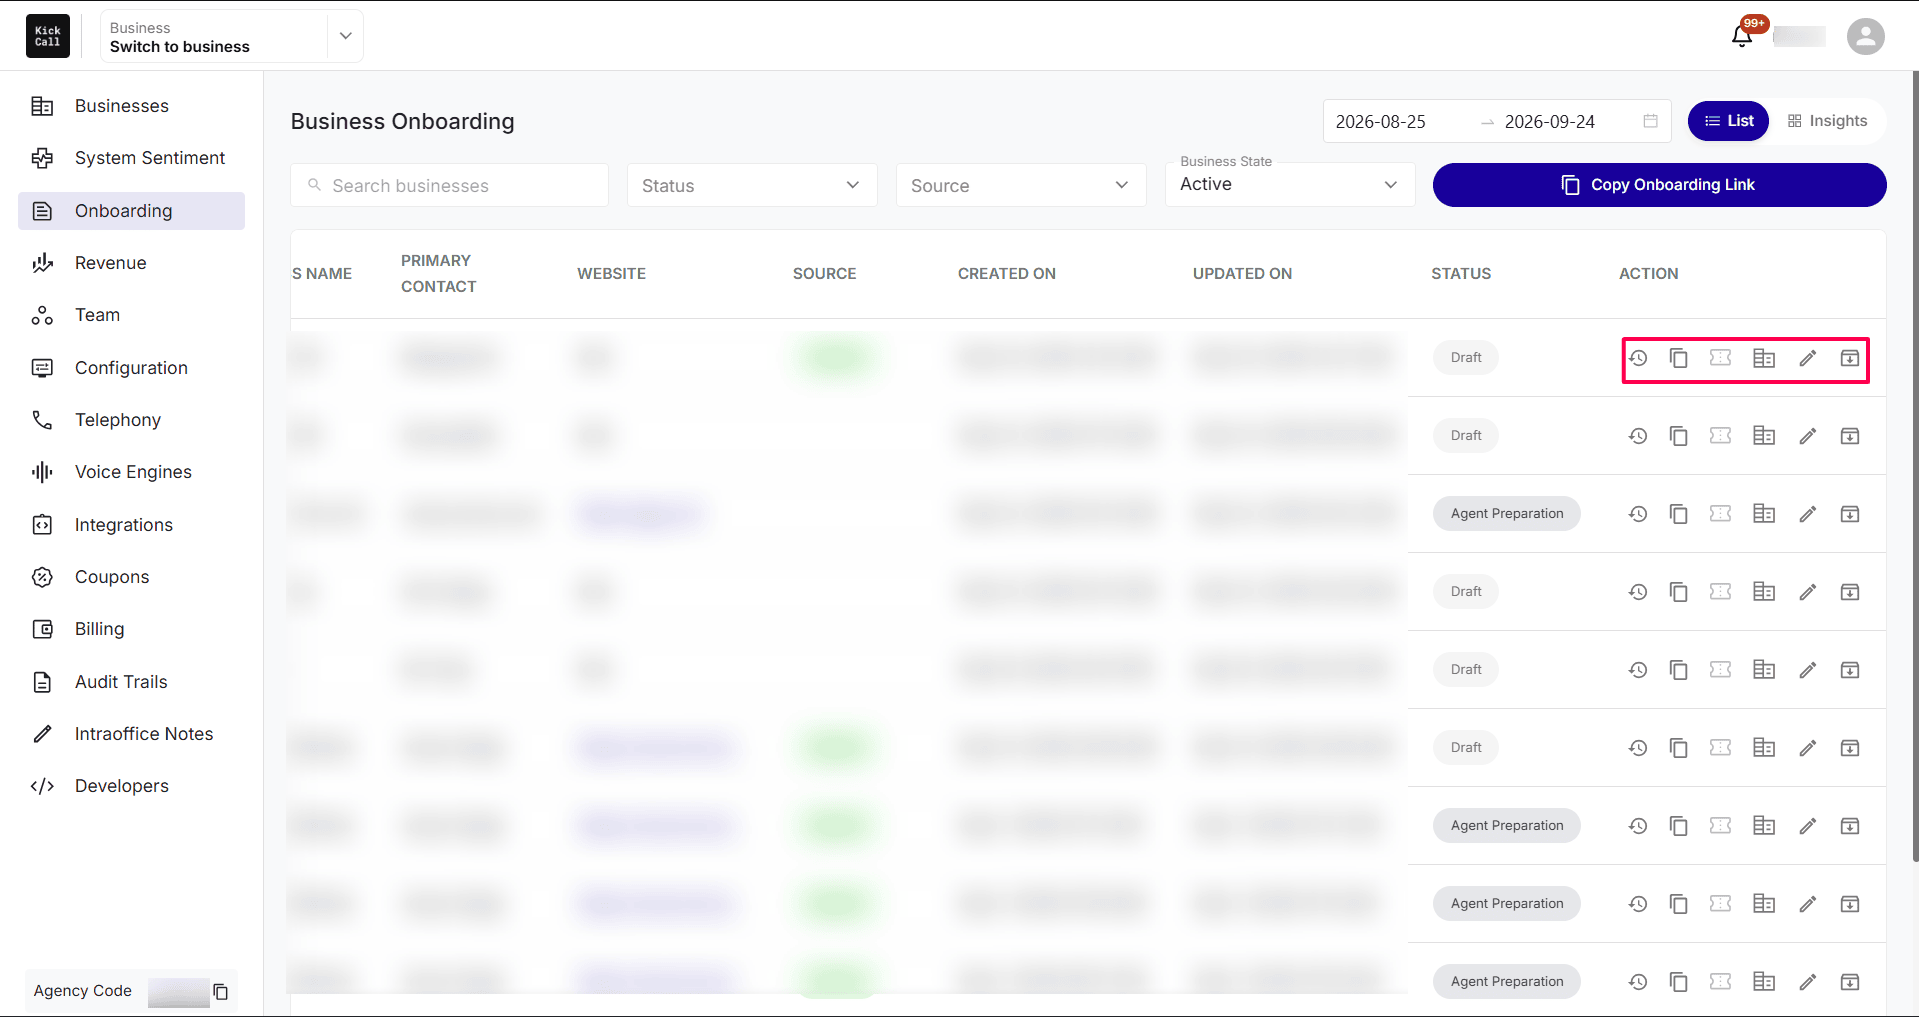
Here's what each one does:
a. View History Log (clock icon)
Opens the full History Log for that onboarding — every change, status update, form submission, agency edit and system event in chronological order. Use this to see who did what and when, and to troubleshoot anything the business owner reports.
b. Copy Form Link (copy icon)
Copies the unique Onboarding Form Link for an in-progress onboarding to your clipboard. This is a secure link tied to that specific business — if the business owner misplaces their original email or didn't finish the form, you can re-share the same link so they pick up exactly where they left off.
c. Ticket Reference (ticket icon)
Attach or view a support ticket reference linked to this onboarding. Use this field to add the ticket ID from your own service portal — Zendesk, Freshdesk or any other helpdesk — so your team always has a single thread connecting the onboarding work and the support conversation with the business.
d. Business Setup (form icon)
Opens the Business Setup screen for this onboarding. Once the onboarding form is 100% complete and all information has been reviewed and confirmed, you can create the business in one click — Kickcall provisions the business with all default setup (voice engine, telephony, billing package, knowledge base, locations) based on what was captured in the form. See Manage Business Details & Configurations for what gets configured at this step.
e. Edit (pencil icon)
Opens the onboarding record so you can edit the details captured in the form on behalf of the business — for example fixing a typo in the business name, updating a contact email or correcting a website URL before pushing the onboarding through to Business Setup.
g. Archive (archive/box icon)
Archives the onboarding record so it is removed from the default list view. The record is not deleted — it is simply hidden from the active list to keep your workspace tidy. Use it for completed, cancelled or stale onboardings that no longer need front-and-center attention. History logs, ticket references and audit events remain intact.