Overview
Written By Anand Raj
Last updated About 2 months ago
SIP Connectivity lets you connect virtually any business phone system — a PBX, a UCaaS platform, or a SIP trunking provider — to your Kickcall agent using the open SIP (Session Initiation Protocol) standard. If your phone system isn't one of Kickcall's built-in Native Carrier presets, SIP Connectivity is the universal option that works with almost any standards-based system.
A SIP connection is simply a signaling link between two systems that lets calls flow between them. Setting one up means agreeing on two things with your phone system: where to send calls, and how the two sides will trust and authenticate each other.
There are two ways to establish that connection:
SIP Trunking — a direct, server-to-server connection — the standard approach used by most modern PBXs, SBCs, and carriers.
SIP Registration — your agent logs in to your phone system the way a desk phone or softphone would.
Recommended approach. For most business phone systems, SIP Trunking is the preferred method. It's simpler to keep reliable, scales better, and is what most enterprise PBXs and carriers are built to support. Use SIP Registration only if your provider specifically requires your agent to register as a device — this is common with older on-premise PBXs or extension-based providers that can't offer a static IP.
Getting started
Every SIP connection is set up from the same place in your agent, regardless of which method you choose:
Create a new agent, or open an existing one.
Go to Configure → Connect Phone.
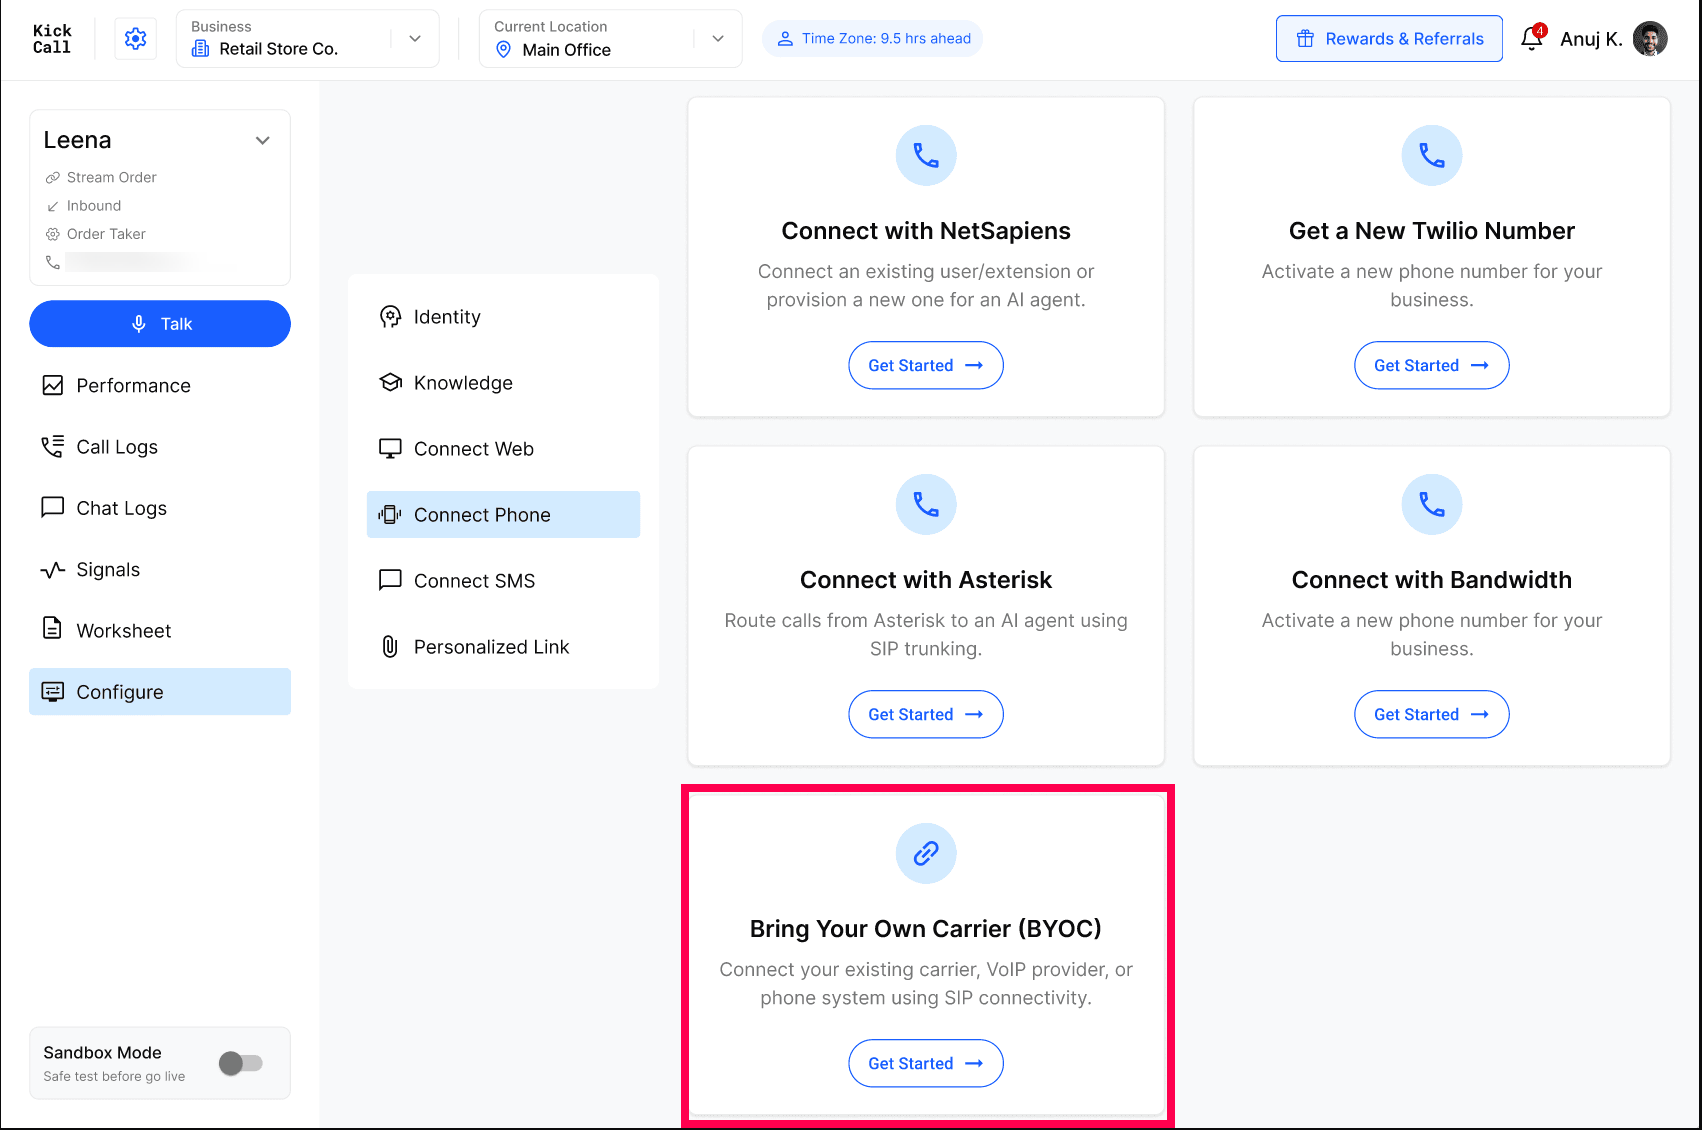
Under Choose your telephony provider, select Bring Your Own Carrier, then choose SIP Connectivity. (Use this for any PBX, UCaaS platform, or SIP trunking provider that isn't one of the other built-in presets.)
Choose your connection method — SIP Registration or SIP Trunking — using the toggle at the top of the panel.

Only one method at a time. SIP Registration and SIP Trunking are alternatives, not additions — a given phone number on your agent uses one or the other, never both at once. Switching the toggle changes which configuration is active; it doesn't combine them.
Method comparison
Call transfers
Once your SIP connection is up and running, your agent can hand calls off to a teammate, a queue, or another extension on your phone system. There are two ways this can happen: a warm transfer or a cold transfer. Both move the caller to a new destination — the difference is how much of a "hand-off" happens along the way.
Warm Transfer — introducing the caller first
Think of this like a receptionist walking a caller down the hall and introducing them in person before stepping away. Your agent briefly puts the caller on hold, reaches out to the person or team the call is going to, and passes along a short summary — who's calling and why. Once that person is ready and agrees to take the call, the caller is connected and your agent steps out.
If the receiving person is unavailable or unable to take the call, your agent can return to the caller and offer another option instead of the call simply failing. This makes warm transfer the better choice whenever context matters — for example, routing a caller to the right department after the agent has already gathered some details.
Cold Transfer — a direct hand-off
A cold transfer is quicker and more direct — like a receptionist pointing down the hall and letting the caller walk there on their own. Your agent redirects the call straight to the destination number or extension immediately, with no introduction or summary passed along, and steps out of the call right away.
Because there's no check-in step, a cold transfer is best used when the caller already knows exactly where they want to go — for example, dialing a known extension — since there's no fallback if the destination doesn't answer.
Good to know. Both transfer types work over either SIP Trunking or SIP Registration, so your choice of connection method doesn't limit which transfer type your agent can use.
Which should you use?
In almost every case, the choice comes down to what your PBX, UCaaS platform, or carrier actually supports — not personal preference.
Start with SIP Trunking
SIP Trunking is the industry-standard way to connect two business phone systems, and it's what most modern PBXs, session border controllers (SBCs), and carriers are designed around. It has no login session to keep alive, handles higher call volumes more gracefully, and is generally simpler to keep reliable over time. If your provider can give you static signaling IPs, use IP-based authentication — it's the most common and most straightforward setup. If they can't, credential-based authentication gets you the same trunk-style connection without needing a fixed IP.
Use SIP Registration when it's required
Some systems — particularly older on-premise PBXs, or providers that issue you an extension rather than a trunk — only support the registration model, where your agent authenticates as if it were a physical device. If that's how your provider works, SIP Registration is the correct (and only) option, not a fallback to avoid.
Quick decision guide
Choose SIP Trunking if — your phone system gives you static IPs to whitelist, or generates SIP trunk/carrier credentials for you.
Choose SIP Registration if — your phone system or provider issues you a SIP username, password, and domain, and asks you to "register a device" or "add an extension".
Not sure which your provider uses — check with your provider or IT team before configuring — they'll know which model their platform supports.