How Do You Create and Revoke Kickcall API Keys?
Create, store, and revoke API keys used for server-to-server access to Kickcall
Written By Maruf Ansari
Last updated 9 days ago
Connect your own systems to Kickcall securely. API Keys let your servers authenticate directly with Kickcall so you can pull data, trigger actions or build Kickcall into internal workflows. This guide shows how to create, store and revoke keys safely.
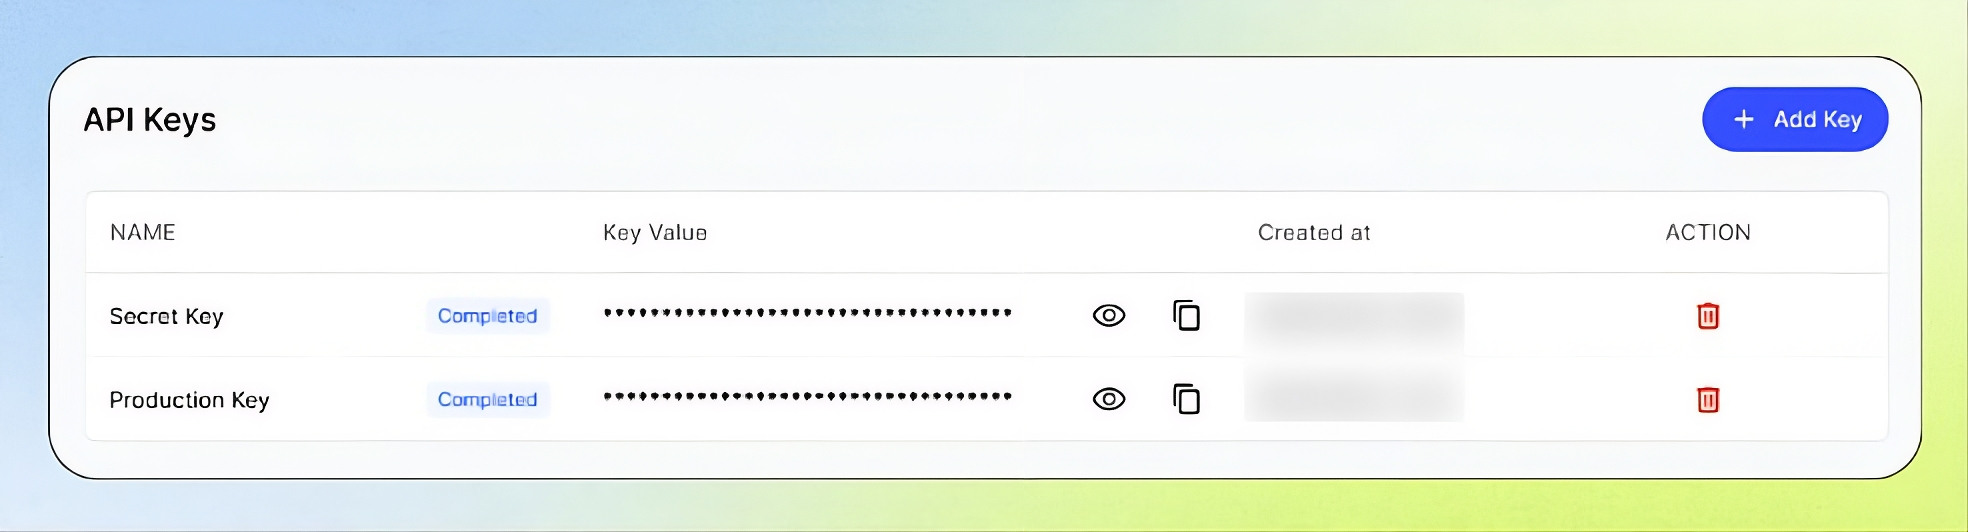
API Keys Overview
The API Keys page allows developers and technical team members to create and manage secret tokens that authorize systems to access your Business through API requests. You can create named API keys for specific systems, copy and store them securely, and revoke and replace keys that are lost, exposed, or no longer needed. Since anyone holding an API key may be able to access your Business within its permissions, treat it like a password and revoke it immediately if it is compromised.
Important notes
Treat API keys like passwords. Never place keys in browser code, public repositories, shared documents, or screenshots.
Use dedicated keys for production, staging, internal tools, and third parties.
Deleting a key immediately revokes it. Applications using it will receive authentication errors.
Do not assume that a separate key has separately configurable scopes. Confirm the available permission controls.
Before you create an API key
Make sure you have:
Permission to manage API keys in the Business Portal.
A clear purpose for the key.
A secure vault or server-side environment variable.
The relevant API documentation for your application.
Create an API key
Open API Keys in the Business Portal sidebar and select Add Key.
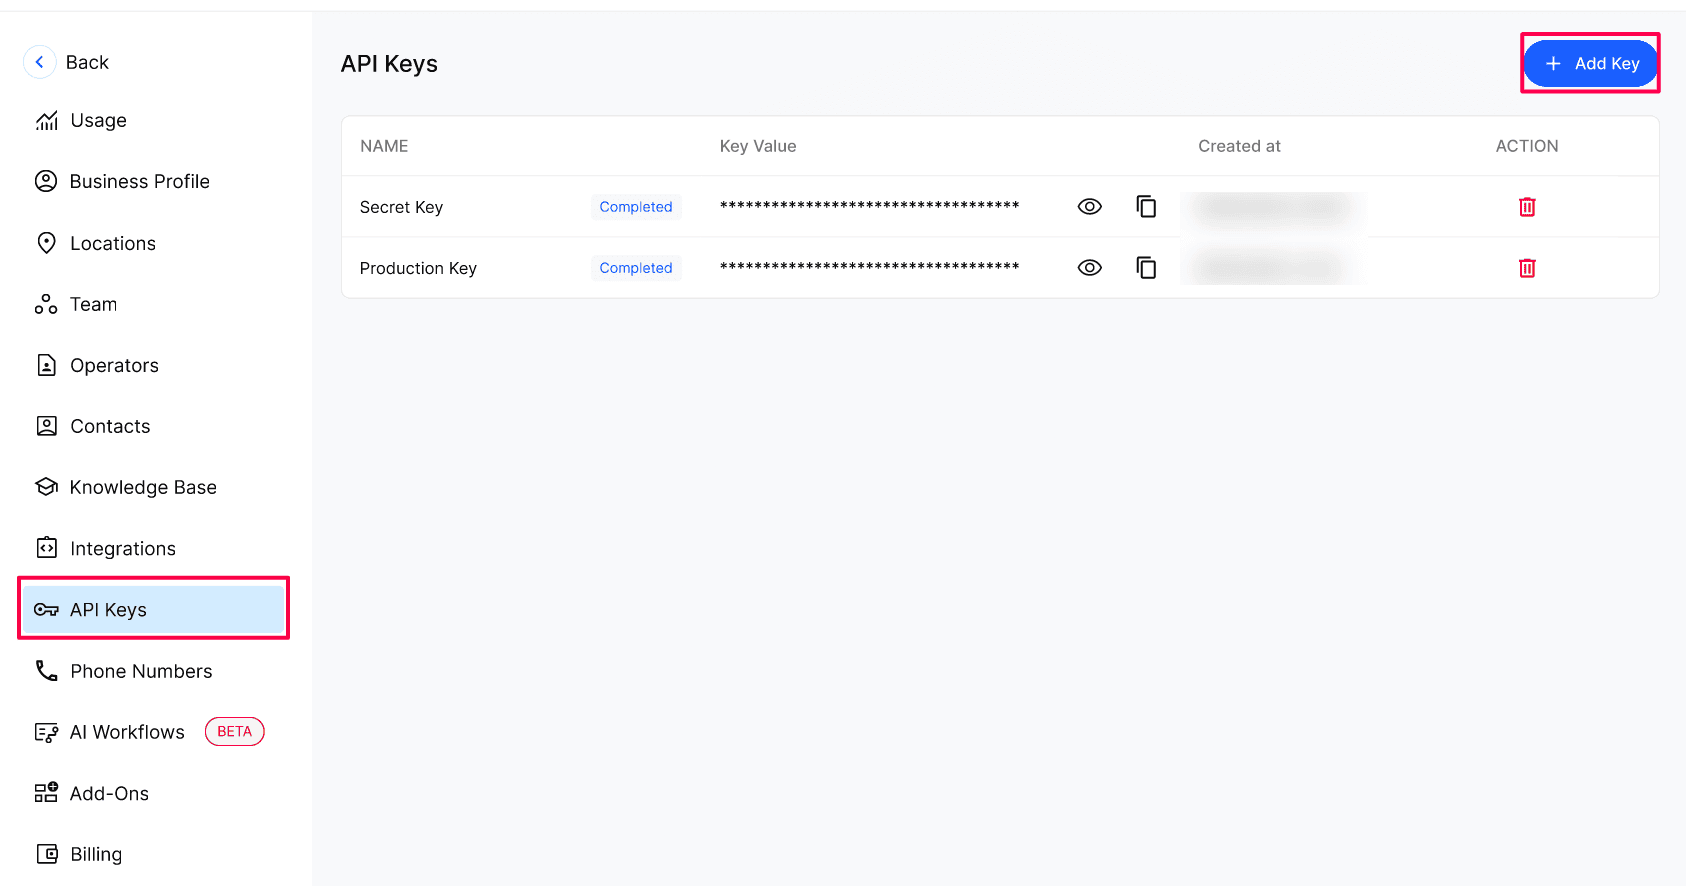
Enter a clear Name that describes where the key will be used, then select Create.
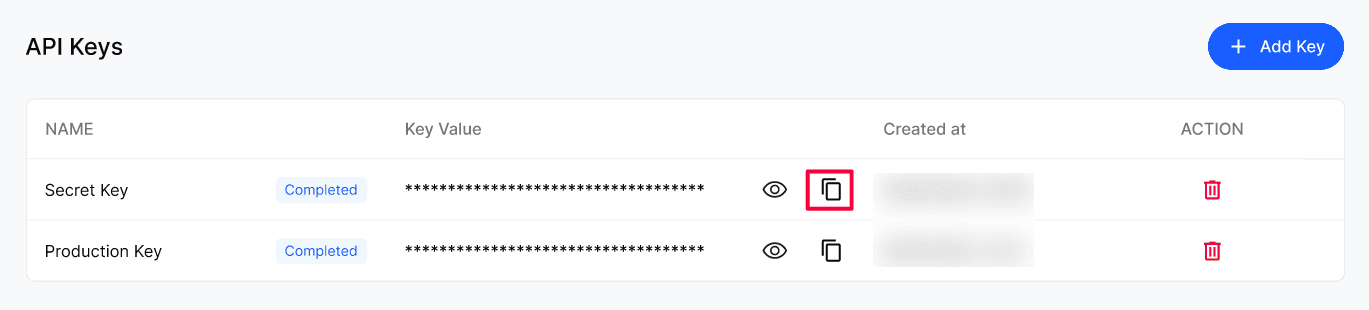
Select the copy icon on the new row and store the key in your secure location.
Revoke and replace a key
Create a new key and update your system to use it.
Delete the old key from the Action menu on its row.
If a key has been exposed, delete it first, then create the replacement.
Configuration reference
Verify the result
Confirm the key appears in the list with the right Name.
Send one test request from your server using the key and confirm it succeeds.
After deleting an old key, confirm no system still depends on it.
Troubleshooting
Recovery or rollback
A deleted key can't be restored. Create a new key and update every system that used the old one.
Frequently Asked Questions
What can I do with an API key?
What can I do with an API key?
It authenticates server-to-server requests from your systems to Kickcall. What you can access depends on your Business permissions and enabled integrations.
Can I see a key again after creating it?
Can I see a key again after creating it?
Yes. Select the eye icon to reveal it. It's still safest to copy and store it when you create it.
What happens when I delete a key?
What happens when I delete a key?
It stops working immediately. Any system using it gets authentication errors until it's updated with a new key.
How often should I rotate keys?
How often should I rotate keys?
Regularly, especially for production systems — and immediately if a key may have been exposed.
Can I share a key with a third-party service?
Can I share a key with a third-party service?
Related articles
Was this helpful?
Still need help? Ask the team